How to embed an interactive chart in a site
Adding interactive charts to your website can transform static data into engaging content that captivates your audience.

How to Embed an Interactive Chart into Your Website
Interactive charts turn static data into content that readers can explore. Blogs, business sites, and data-driven applications all benefit from embedded charts, since they make complex information easier to read and more visually appealing than a static image.
This guide covers how to embed an interactive chart into your website using InstaCharts.
Why Embed Interactive Charts?
Interactive charts let visitors hover over data points, zoom in on specific periods, filter information, and explore the data on their own terms. Static images cannot do any of this. The added interactivity keeps visitors on the page longer and helps them understand the data in more depth.
Interactive charts are also responsive by default, meaning they’ll look great on desktop computers, tablets, and smartphones without any extra work on your part.
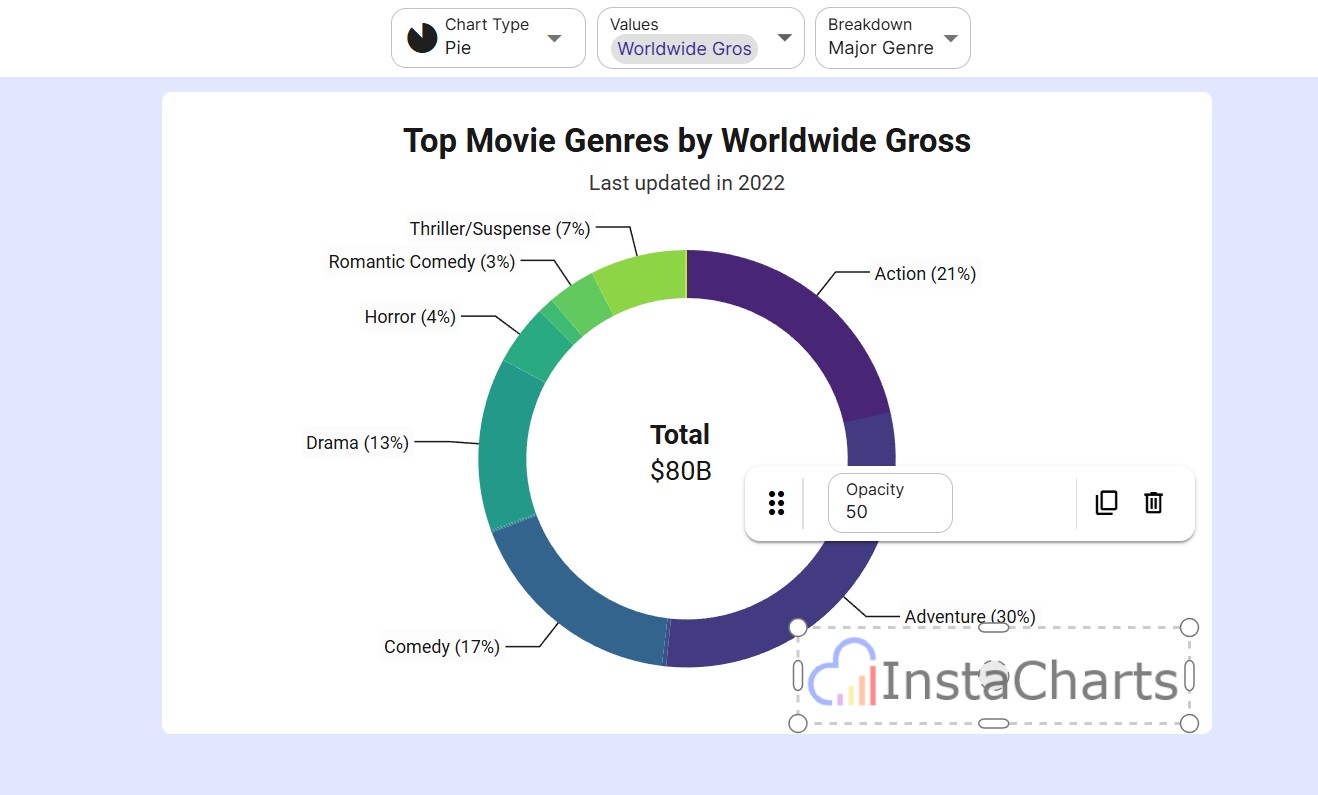
An example of an embedded donut chart
Creating Your Chart in InstaCharts
The first step is creating your chart in InstaCharts. Log in to your account and either create a new chart from scratch or select one you’ve already built.
(For more information on importing data and creating a chart, see our full guide on importing files.)
InstaCharts supports a wide variety of chart types including line charts, bar charts, pie charts, scatter plots, and more.
Once you’re satisfied with your chart’s appearance and the data it displays, you’re ready to generate the embed code.
Getting Your Embed Code
Embedding your InstaCharts visualization is straightforward:
Open the Share & Templates dialog Look for the “Share” button located in the top toolbar. The dialog is also in the File menu.
Set the share mode to Public. In the dialog’s left sidebar, select Share Chart and change the share mode to Public. An embedded chart loads only when the chart is shared publicly.
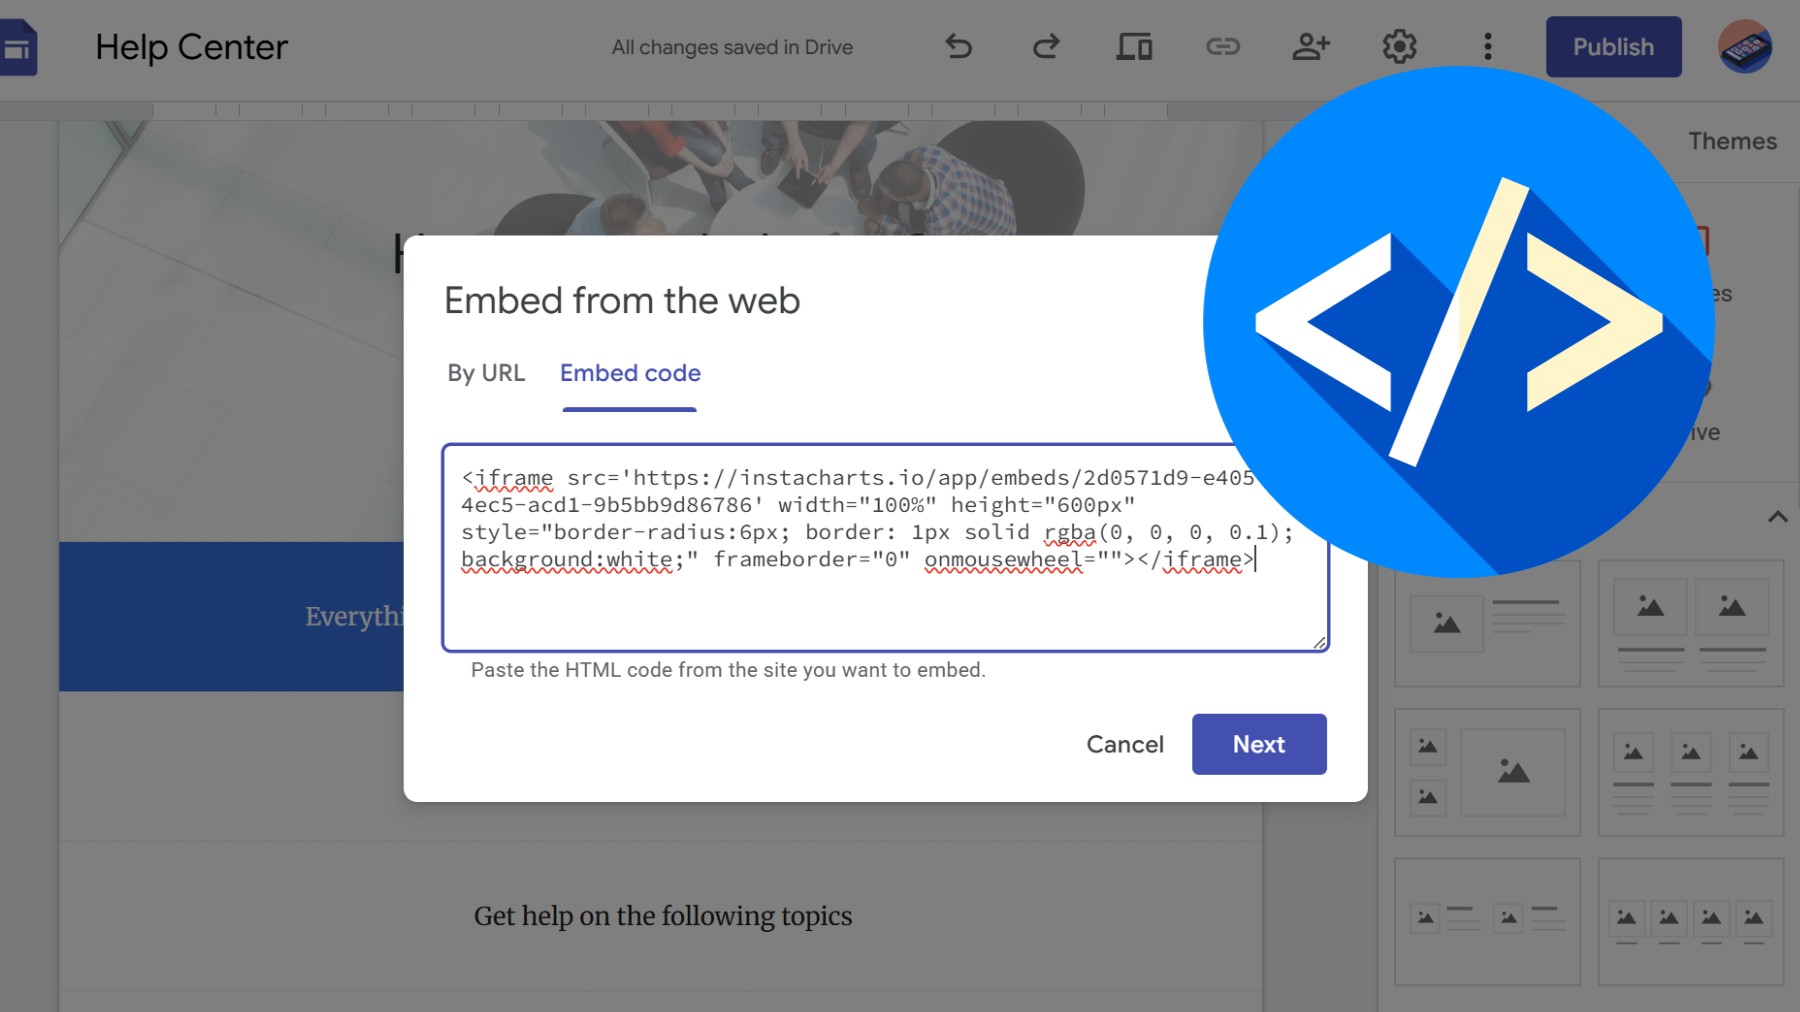
Copy the Embed Code. Under Embed in a webpage, choose the Embed Tag for a snippet of HTML that you paste into a page or code block, or the Embed URL for tools that have their own embed block, like Notion and Wix. The embed tag looks like an <iframe> tag with a unique URL pointing to your chart. Copy it to your clipboard. Use the responsive tag if you want the chart to grow or shrink with the user’s screen size, or the iframe only embed tag for a fixed chart size on your webpage.
Customize the Embed (Optional). There are a few optional settings you can apply from the Settings tab. Choose which views should be included in your embed (the chart, the full dataset, or the aggregated data shown in the chart). When more than one view is included, a dropdown lets viewers switch between them. You can also set a page title, show or hide the embed toolbar (which holds the view picker, an Export button, and a View Larger button), and turn on editor controls so viewers can change the axes and chart type on the full page version of the chart. Paid plans can also restrict which domains are allowed to load the chart.
What You Can Embed
The Share dialog offers three things to embed:
- The interactive chart, with hover tooltips and optional editor controls
- A data table, showing the full dataset or the plotted data as a sortable table, when you include those views
- A static chart image, a PNG from the Share Image tab that updates automatically when the chart changes and works anywhere a standard image is accepted, including email newsletters and platforms that block iframes
Adding the Chart to Your Website
The method for adding your chart depends on what platform you’re using:
For HTML Websites
If you’re working with raw HTML, simply paste the embed code wherever you want the chart to appear in your page’s code. Make sure you’re editing the HTML source rather than a visual editor. Change the height to a value that looks good on your webpage.
<iframe src='https://instacharts.io/app/embeds/9fd655d6-85b6-4947-9b63-cb5f89631e6a'
     width="100%" height="600px" frameborder="0"
     style="border-radius:6px; border: 1px solid rgba(0, 0, 0, 0.1); background:white;">
</iframe>
For WordPress
In the WordPress block editor, add an “HTML” or “Custom HTML” block where you want your chart to appear, then paste the embed code into that block. If you’re using the classic editor, switch to the “Text” tab (not “Visual”) and paste the code there.
For Website Builders
- Webflow: Add a Code Embed element and paste in the Embed Tag.
- Wix: Add an HTML Embed element. Choose Website address and paste the Embed URL, or choose Code and paste the Embed Tag.
- Squarespace: Add an Embed Block, select Code Snippet, and paste in the Embed Tag.
- Bubble: Drag an HTML Element onto your page and paste the Embed Tag under Appearance.
- Ghost: Add a Raw HTML card and paste in the Embed Tag.
- Notion: Add an Embed block (type
/embed) and paste in the Embed URL. - Shopify: Add a Custom Liquid section and paste the Embed Tag into the Liquid code area.
For Medium and Substack
Medium and Substack do not support third-party iframe embeds. Export your chart as a PNG or SVG from the Export dialog and upload the image to your article instead.
Responsive Design Considerations
To ensure your chart looks good on all devices, consider using the Responsive Embed tag. This tag looks similar to the regular embed tag, but comes with extra javascript:
<iframe src='https://instacharts.io/app/embeds/9fd655d6-85b6-4947-9b63-cb5f89631e6a'
     width="100%" height="600px"
     style="border-radius:6px; border: 1px solid rgba(0, 0, 0, 0.1); background:white;" frameborder="0" onmousewheel="" data-responsive="1">
</iframe>
<script type="text/javascript">window.addEventListener("message",(function(e){let t=e.data,n="instacharts-height";if(t&&t[n]){let s=document.querySelectorAll("iframe");for(let o=0;o<s.length;o++){let a=s[o];a.contentWindow==e.source&&a.dataset.responsive&&(a.style.height=t[n]+"px",a.contentWindow.postMessage({"instacharts-no-scroll":1},"*"))}}}));</script>
This tag is a responsive container that uses CSS to maintain aspect ratios across different screen sizes.
Updating Your Embedded Charts
One of the best features of embedded charts is that they remain connected to your InstaCharts account. When you update the data or styling in your InstaCharts charts, those changes automatically reflect in all the places you’ve embedded that chart. There’s no need to generate new embed codes or update your website again.
Tracking Views on Your Embedded Charts
Once a chart is live on your site, InstaCharts counts every load so you can see whether anyone is actually looking at it. Share analytics is available on paid plans, and views are recorded on the free plan too, so the history is waiting for you if you upgrade later.
Open the Analytics page in your workspace sidebar, or the Analytics tab in the Share & Templates dialog for a single chart. You get three things:
- View counts for all time and for the last 30 days, split into share views (people opening the full page share link) and embed views (people loading a page on your site that contains the chart)
- A views over time chart with a line for each type, by day for the last 30 days or by month for all time
- Top referring pages, a ranked list of the URLs loading your embed
The referring pages list is the useful one for embedding. It tells you which articles are driving the most chart views, and it surfaces any other site that has embedded your chart. If you want to limit that, you can whitelist the domains allowed to load your embeds from the share settings.
Every analytics table has a download icon that exports it as a CSV, so view counts can go straight into a spreadsheet or a monthly report. Full details are in the share analytics documentation.
Best Practices for Chart Embedding
Consider Page Load Times. While embedded charts are optimized, having too many on a single page can slow down load times. Be strategic about placement.
Test on Multiple Devices. Always check how your embedded chart appears on mobile devices, tablets, and desktops before publishing.
Provide Context. Add a caption or brief explanation near your chart to help readers understand what they’re looking at.
Mind Your Color Scheme. Ensure your chart colors complement your website’s design and maintain sufficient contrast for readability.
Troubleshooting Common Issues
If your chart isn’t displaying correctly, check these common issues:
- Make sure the chart is set to “Public” in the Share dialog. Private charts won’t display on external websites.
- Verify you copied the complete embed code without accidentally cutting off any characters.
- Check if your website platform allows iframe embeds. Some platforms restrict iframes for security reasons. Medium and Substack accept an exported PNG or SVG image instead.
- Check your domain whitelist. When domain whitelisting is on, the chart loads only on the exact domains you list, and the iframe stays blank everywhere else.
- Turn on the embed toolbar in the Settings tab when the view picker is missing. The toolbar must stay on whenever more than one view is included.
- Adjust the size. Edit the
widthandheightattributes on the iframe, or usewidth="100%"for a fluid layout.
Plan Limits
Free accounts can serve up to 200 share and embed views a month, Starter accounts up to 1,000, and Pro accounts up to 100,000. Charts on the free plan include an InstaCharts watermark, and paid plans remove it.
Summary
Embedding an interactive chart from InstaCharts takes a few clicks and one copy-paste of the embed code. The result is a data-driven page that updates automatically whenever you change the underlying chart.
Log in to your InstaCharts account to create a chart and embed it on your website.