Add Data Row
The Add Data Row action adds a row of data to an existing InstaCharts sheet. Every chart and dashboard built on that sheet updates with the new data, so this is the action to reach for when you want to keep a live chart current as new records arrive - a new spreadsheet row, a form response, a sale, and so on.
Set up an Add Data Row action
- Create a new Zap and choose your trigger app and event - this is the source of the new data (for example, a new Google Sheets row, a new Typeform response, or a new Stripe payment).
- Add InstaCharts as the action app and choose Add Data Row as the action event.
- Connect your InstaCharts account if you haven’t already.
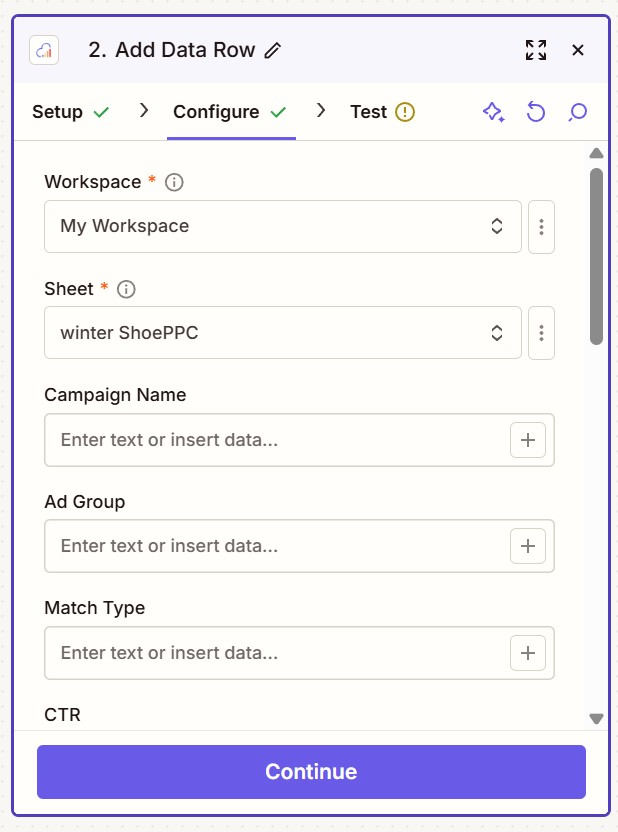
- On the Configure screen, choose the Workspace that contains your sheet, then choose the Sheet you want to add a row to.
- InstaCharts loads one field for each column in that sheet, labeled with your column names. Map the data from your trigger into each column.
- Continue to the Test screen and press Test. A successful test appends a new row to your sheet.
How the fields work
After you pick a sheet, InstaCharts builds the rest of the form from that sheet’s columns.
- Workspace and Sheet are required - they tell InstaCharts where to add the row.
- Every column on the chosen sheet appears as its own field, using the column’s header as the label.
- Column fields are optional. Leave a field blank to store an empty value in that column.
After the row is added
The new row is written straight to your sheet, so any chart or dashboard built on it reflects the new data right away - no manual re-sync needed. This makes Add Data Row a simple way to drive an always-current chart from another app.
Read More
- Zapier overview
- Editing sheet data
- Get Chart Image - grab an image of the updated chart